Divi blog ultra
Installation
the plugin file is divi-blog-ultra.zip. It can be downloaded from the link in the order confirmation email.
Uploading Divi Blog Ultra From WordPress Dashboard
Step 1 – Navigate to WordPress Dashboard > Plugins > Add New Plugins.
Step 2 – Click Upload Plugin and hit the upload button.
Step 3 – Navigate to find the “divi-blog-ultra.zip” file on your computer and click “Install Now”
Step 4 – Once uploaded, activate the Plugin. Go to Dashboard > Plugins > Installed Plugins and activate it.
Uploading Divi Blog Ultra via FTP
Step 1 – Log into your hosting space via an FTP software.
Step 2 – Unzip the divi-blog-ultra.zip file.
Step 3 – Upload the extracted Divi Blog Ultra plugin folder into wp-content/plugins/ folder.
Step 4 – Activate the newly installed plugin. Go to WordPress Dashboard > Plugins > Installed Plugins and activate it.

Blog Ultra Modules
Blog Post Module
How To Use Blog Post Module
Step 01-
1. Go to the page and click Enable Visual Builder. Click add new section and choose the row.
2. Click plus icon Add new module, then Insert “Blog Post” module.

Step 02-
1. After selecting the Module, you are ready to customize it in the ‘content tab‘ .

2. Next, on the Post Settings, you’ll get more options. They are Layout Type, Layout, Number of post, Column, Column Space , Row Space and Items Hide & Show.

3. Its comes 4 different layouts and layout types.

Step 03-
To stylize the Module, click on the ‘Design tab’. All the important options will appear to customize.

Blog Post List Module
How To Use Blog Post List Module
Step 01-
1. Go to the page and click Enable Visual Builder. Click add new section and choose the row.
2. Click plus icon Add new module, then Insert “Blog Post List” module.
Step 02-
1. After selecting the Module, you are ready to customize it in the ‘content tab‘ .

2. Next, on the Post Settings, you’ll get more options. They are Layout Type, Layout, Number of post, Column, Column Space , Row Space and Items Hide & Show.

3. Its comes 3 different layouts and layout types

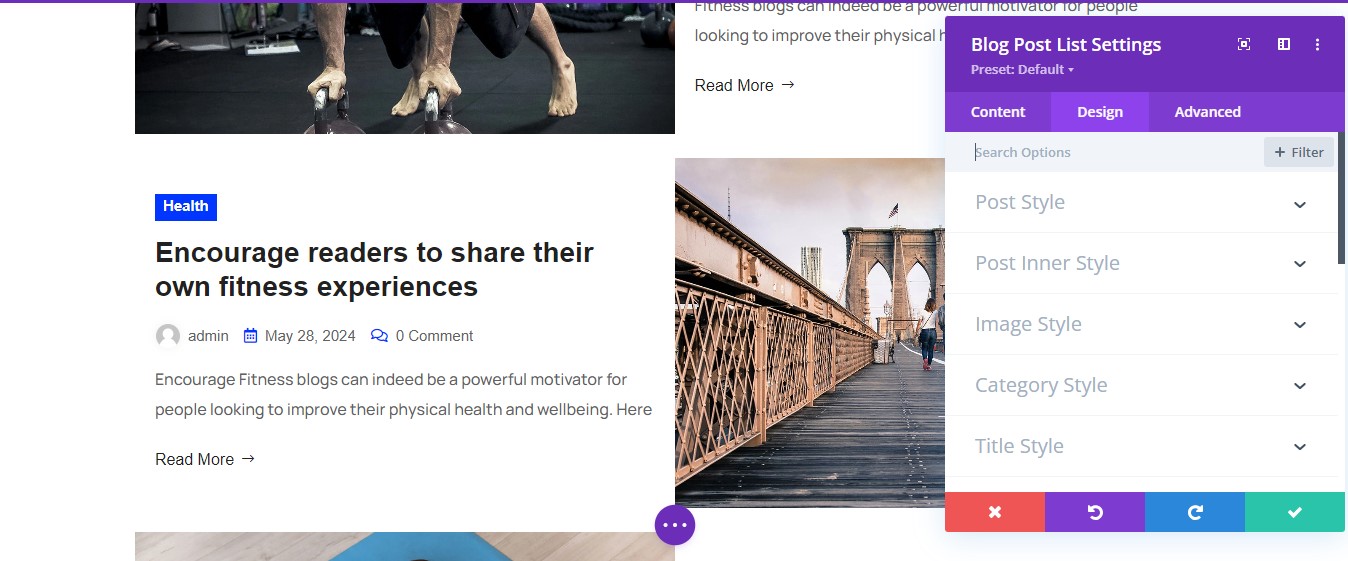
Step 03-
To stylize the Module, click on the ‘Design tab’. All the important options will appear to customize.